In this article, we'll create the simplest PrestaShop module for version 1.7. The extension will contain the most basic options along with displaying sample content hooked on the main page. The tutorial is an excellent base for working on more advanced PrestaShop modules.
We start by inventing the module name. It is worth to describe the function that the add-on will perform. In our case, we will give a name "prestapros_demo". Extensions are located in the "modules" directory. Now, create there a directory with a previously invented name. Next, inside the directory add a php file with the same name. You should also add a graphic file (displayed in the administration panel). We create a module for version 1.7, which is why we add a logo file with a resolution of 128 x 128 px in png format.
The last file we add is index.php. We create it module directory. The following content should be pasted into the file. This is a file that secures access to the directory from outside .
<?php

header('Expires: Mon, 26 Jul 1997 05:00:00 GMT');
header('Last-Modified: '.gmdate('D, d M Y H:i:s').' GMT');

header('Cache-Control: no-store, no-cache, must-revalidate');
header('Cache-Control: post-check=0, pre-check=0', false);
header('Pragma: no-cache');

header('Location: ../../');
exit;
Finally, we should have the following file structure:

The next step is to edit the main module file. Paste the following code into it:
<?php

if (!defined('_PS_VERSION_')) {
    exit;
}

class prestapros_demo extends Module
{
    public function __construct()
    {
        $this->name = 'prestapros_demo';
        $this->tab = 'front_office_features';
        $this->version = '1.0.0';
        $this->author = 'PrestaPros.com';
        $this->need_instance = 0;
        $this->ps_versions_compliancy = [
            'min' => '1.7',
            'max' => _PS_VERSION_
        ];
        $this->bootstrap = true;

        parent::__construct();

        $this->displayName = $this->l('PrestaPros demo module');
        $this->description = $this->l('Display demo content.');

        $this->confirmUninstall = $this->l('Are you sure you want to uninstall?');
    }
}
The first condition (if) prevents the file from being called directly from outside. If the _PS_VERSION_ constant is not defined when the file is invoked, the script will exit.
Then we create a class named "prestapros_demo" that extends the Module class. This is the action required for the extension to work properly.
Let's take a look at the construction of the constructor. If the name of your module differs from that in the article, change the value $ this-> name. In addition, you can change $ this-> author. You can leave the rest of the attributes as in the example.
$this->name is the module ID, its value must be the same as the extension directory name
$this->tab defines in which section in the modules back office list the PrestaShop addon will be displayed. In our case, we set the value to 'front_office_features' because the module is designed to display additional text on the front-end side. More attribute values can be found on the PrestaShop website
$this->version is the module version. In our case, we can set it to 1.0.0
$this->author we enter the signature identifying the author, which will be visible in the administrative panel
$this->need_instance call (or not) modules class when loading the module page in the administration panel
$this->ps_versions_compliancy table specifies the value of PrestaShop versions for which the module will work. If the store version does not fit in the range, the module will not even install.
$this->bootstrap defines whether modules views in the admin panel are going to be created using bootstrap
parent::__ construct(); calls the constructor method of the Module class.
Lines that are called after the above code are responsible for: displayed name, description and message when deleting the PrestaShop module. They are "wrapped" in the 'l' method, which allows you to enter translations.
We have already discussed the constructor. The next step is to add two simple but necessary methods. At the end of the class of the main php file (before the last closing '}') add following code:
    public function install()
    {
        if (!parent::install()
            || !$this->registerHook('displayHome')
        ) {
            return false;
        }
        return true;
    }

    public function uninstall()
    {
        return parent::uninstall();
    }
Methods are responsible for the installation and removal of the module in the PrestaShop administration panel.
The "registerHook" method is responsible for "connecting" the module to a given hook during installation. There is a large number of places in the PrestaShop code that allow you to connect modules. Connecting allows you to execute your own code in the appropriate method. The entire list of hooks for version 1.7 is available here (https://devdocs.prestashop.com/1.7/modules/concepts/hooks/list-of-hooks/).
In our case, we connect the module to the 'displayHome' hook, which will allow displaying the content on the main page of the PrestaShop store.
The next step is to add a method that will handle the above hook. Paste the following code right after the uninstall method:
    public function hookDisplayHome($params)
    {
        return '<a href="https://prestapros.com/">PrestaPros.com</a>';
    }
The method returns a string with a link to our site. You can change the return value to the one you want.
Go to the store back office panel to the modules section to install the extension. In the list of modules for installation find our module and click the install button. 
After a successful installation, a message about its positive progress should appear. You can now go to the shops home page and see the added code.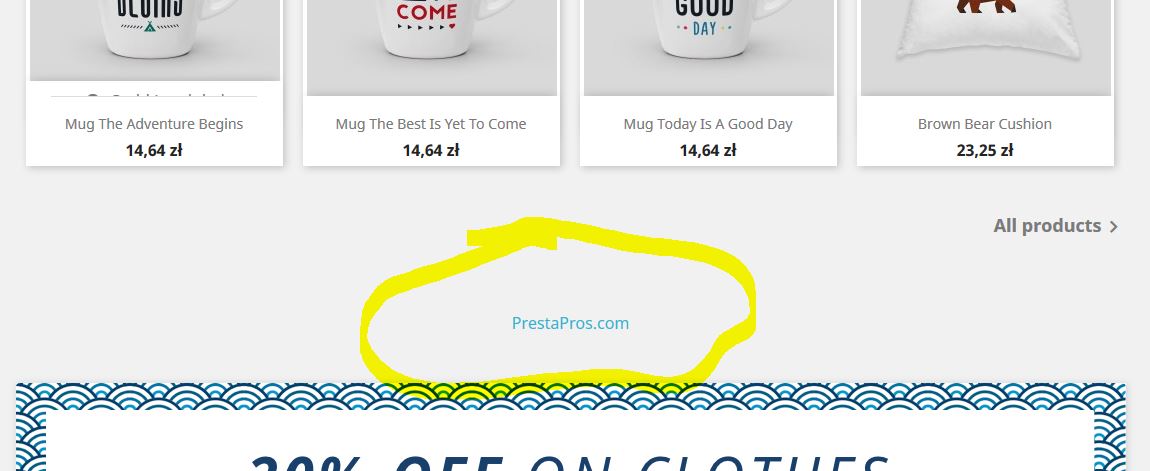
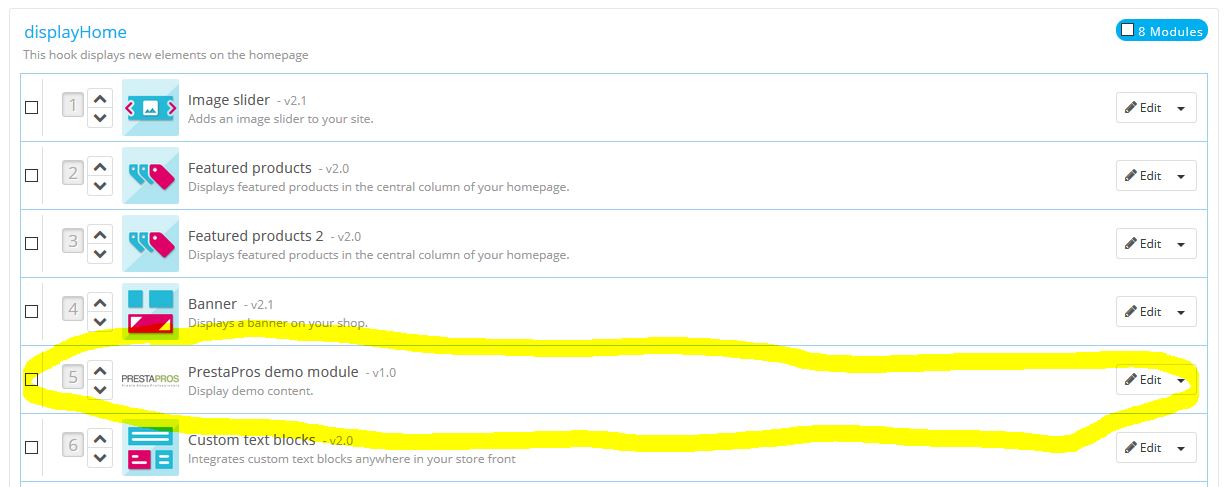
It is worth remembering that many modules can be connected to one hook. You can change the modules position in the administration panel: