In the entry about adding a new product in Prestashop there was mentioned a Product Category section. Today we will develop this topic, focusing on this extremely important and even integral part of the online store.
When you are starting an adventure with online shop it is good to know your assortment as well as customer's way of thinking and searching. It is important what they are looking for and where are they looking for it. Thanks to this knowledge, navigation around the shop will be simple and intuitive, and customers will not leave the online shop disappointed that they didn’t found what they were looking for. The thoughtful structure of the categories helps to create a well-functioning platform. PrestaShop 1.7 allows almost any structure of a tree category. However, it is worth considering this structure before you start introducing categories to your shop. It may be a good idea to list all categories and subcategories on a sheet of paper or a spreadsheet.
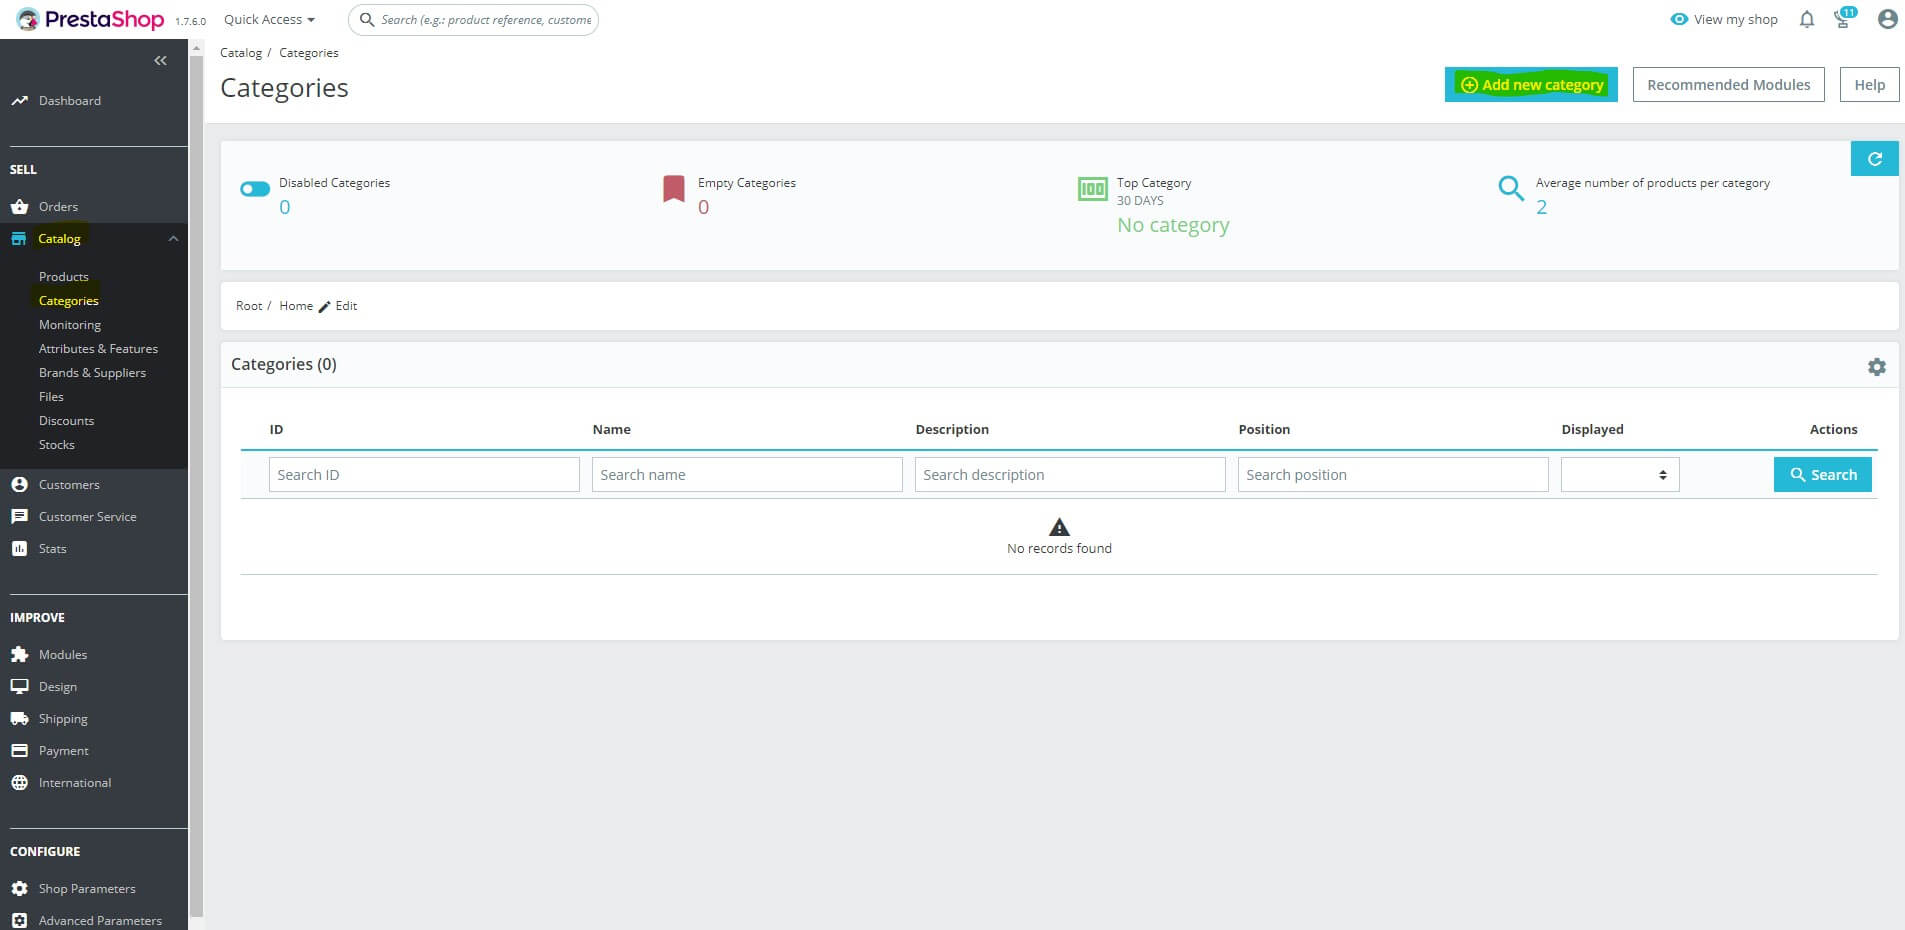
To start adding categories to the PrestaShop 1.7 in the Administrator Panel with columns on the left, select Catalog in the Sales menu, and then subcategory of categories. Click + add new category.
In the newly opened panel you can properly set all the basic information about your new category. Its name, description, photos or position in the category tree.
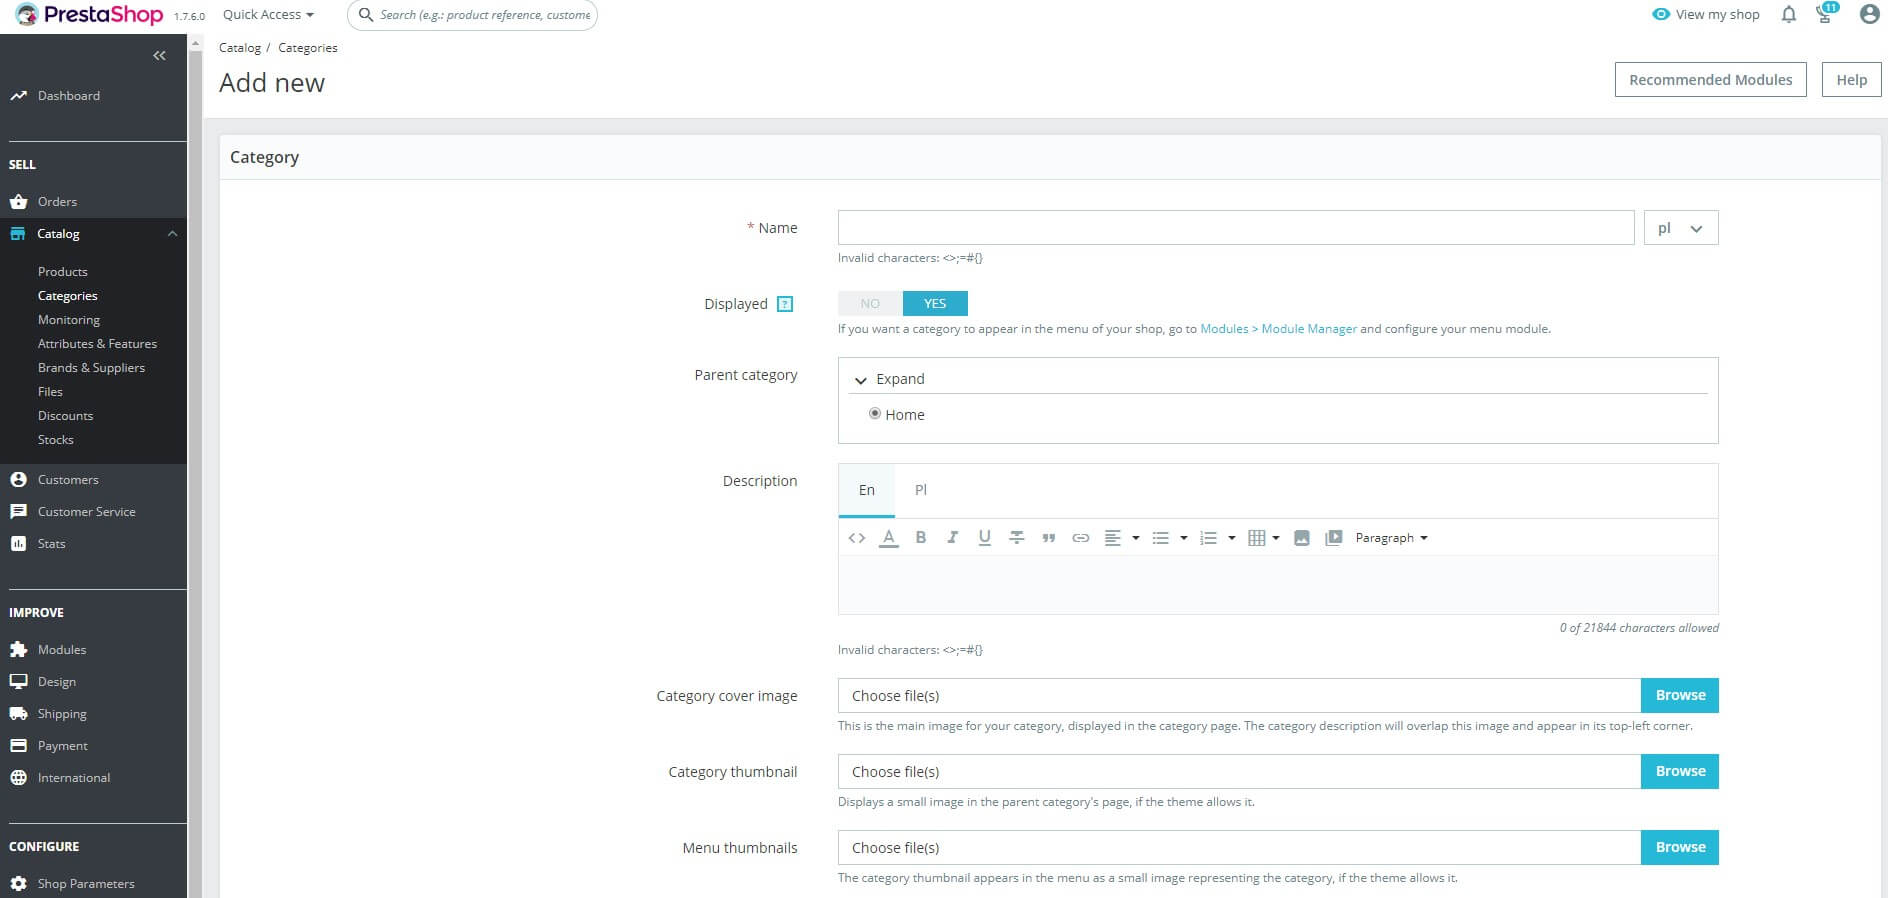
In the Name field, enter a unique name for the category being created. Then you can specify a superior category in relation to the new one.
Tip. It's a good idea to first create all major categories, then add secondary ones. The category tree can consist of an unlimited number of levels.
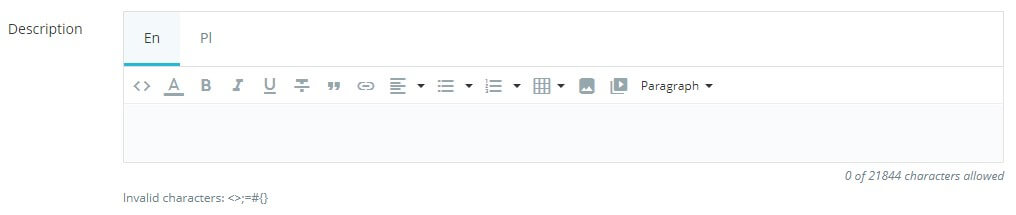
When you name a new category and assign it to a specific place in the online shop, you can create a description for the category. This description will be displayed on your shop's website. In the default settings, the category description can be expanded to 21,844 characters. All basic functions from the text editor are also available such as bold font, underline and italics. You can also use bullets and even create a simple table.
Then there are three options for adding an image:
- Category cover image - displays the file transferred from the disk next to the category description.
- Category thumbnail - the image is displayed on the main category page. If you don't add a file here, the system will use the file from the category image.
- Menu thumbnail - an image displayed in the menu as a photo representing the category.
The display and placement of graphic files on the store's website depends on the template used.

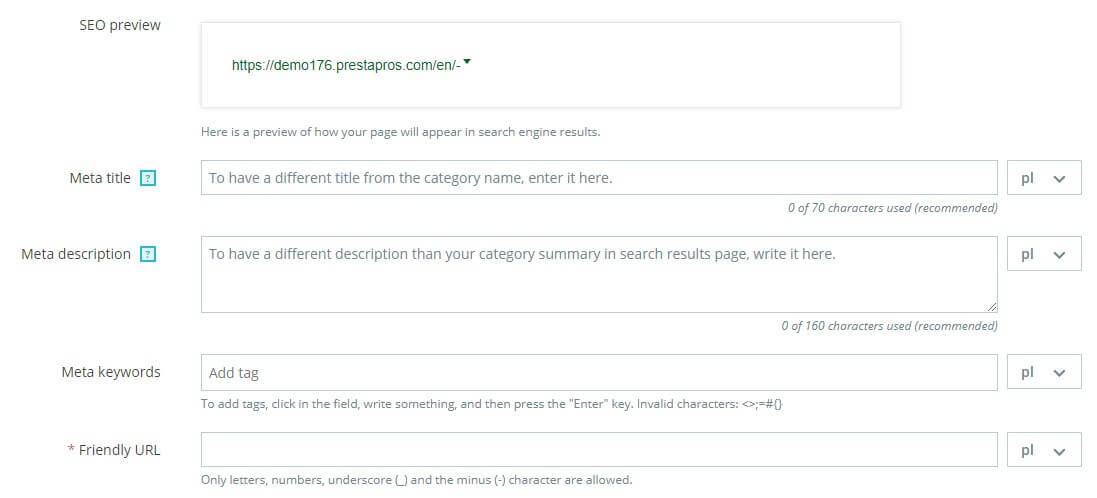
The meta-title and meta description are just like when adding a product short descriptions relevant to search engines. At default settings, the meta-title can contain up to 70 characters and should reflect the brief characteristics of the category. Leaving this space blank will result in using the Category Name. The meta description should be within the default 160 character limit.
Meta keywords are tags that describe the category. They will be useful when using search engines and comparison engines. It is worth adding as many words related to the category as possible added here so that the search engine can easily categorize your shop.
A friendly URL presents a portion of the URL that will be displayed in the store. Default this part is borrowed from the name of the category and just like when adding a product in the categories should the name and friendly URL match.
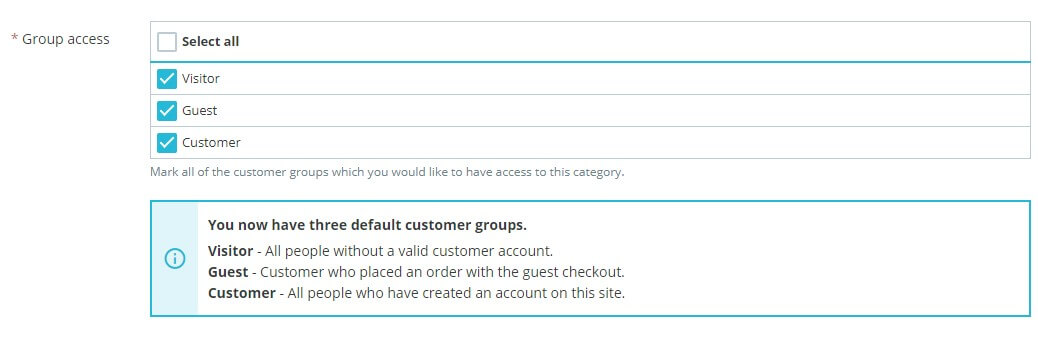
Group access determines for which customer groups of your store a given category will be visible online. You can publish it to all visitors to your shop or only to selected people like creating a category for registered customers only.
Finally remember to save the created category.